

duane v
-
Posts
7,644 -
Joined
-
Days Won
25
Posts posted by duane v
-
-
13 minutes ago, badbluesplayer said:
😁. I've already drilled out the body some to accommodate a different bridge, so it's already been kind of messed up.
No worries.... Its got personality...... At first I thought it was a reflection then I saw the bare wood.
-
Rabs
Looking forward to following this build along the way.
-
 1
1
-
-
To me it looks like checking..... I don't think it's a stress crack in the wood.
Pretty guitar nevertheless
-
That was cool Rabs
-
On 4/1/2023 at 9:25 AM, gibsonles paul said:
Hey guys. Just wanted to know what's the best way to age the pickup covers on mu 2016 Les Paul traditional. I heard of a paper towel and vinegar method but I'm not sure how that works. Please leave you tips below. Thanks!
Color buff it and it will dull in a few days after. But this only works on chromium3.... if it's chromium6 forget it.
-
I had a Ric and it was the worse sounding and playing instrument I laid my hands one
-
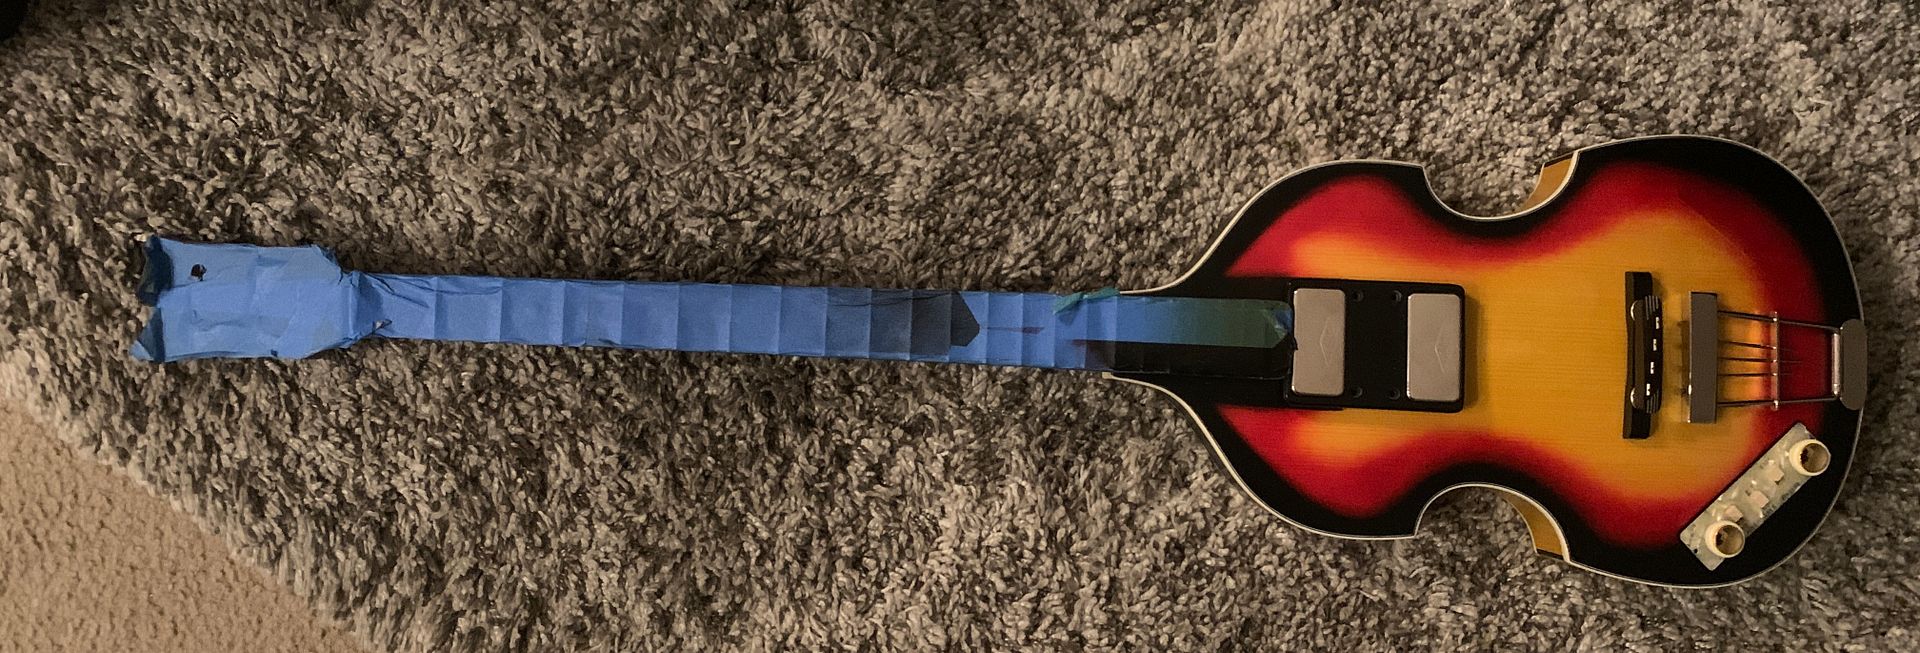
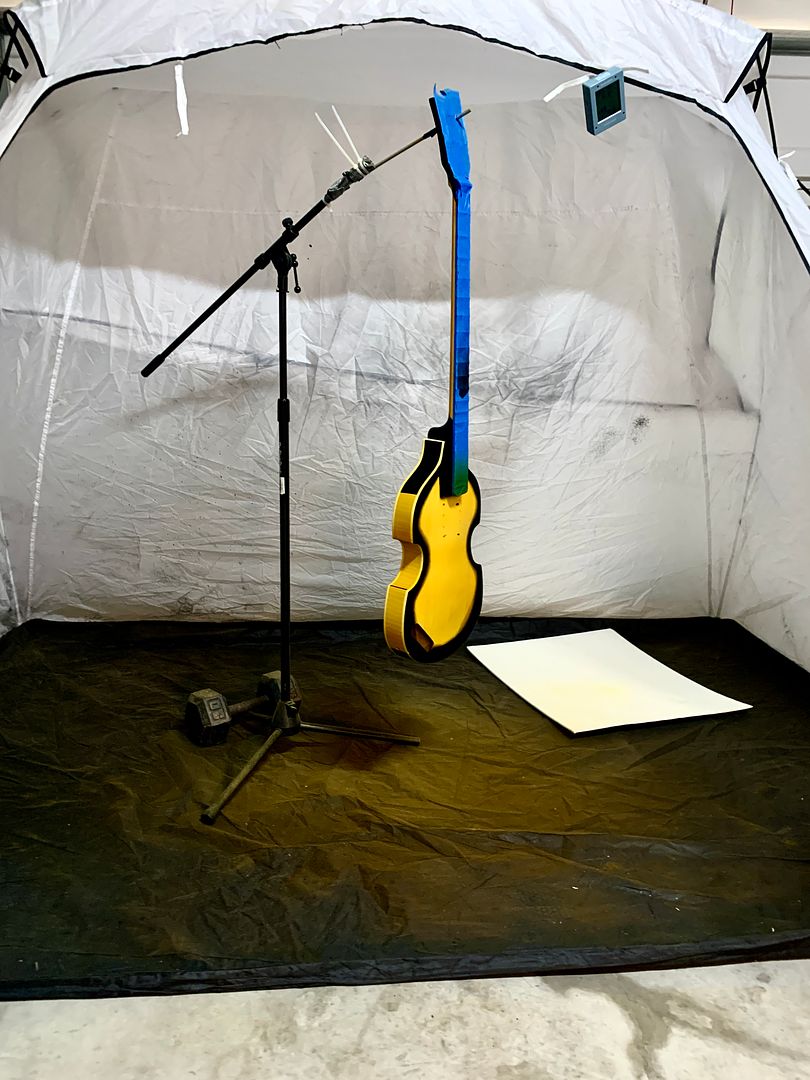
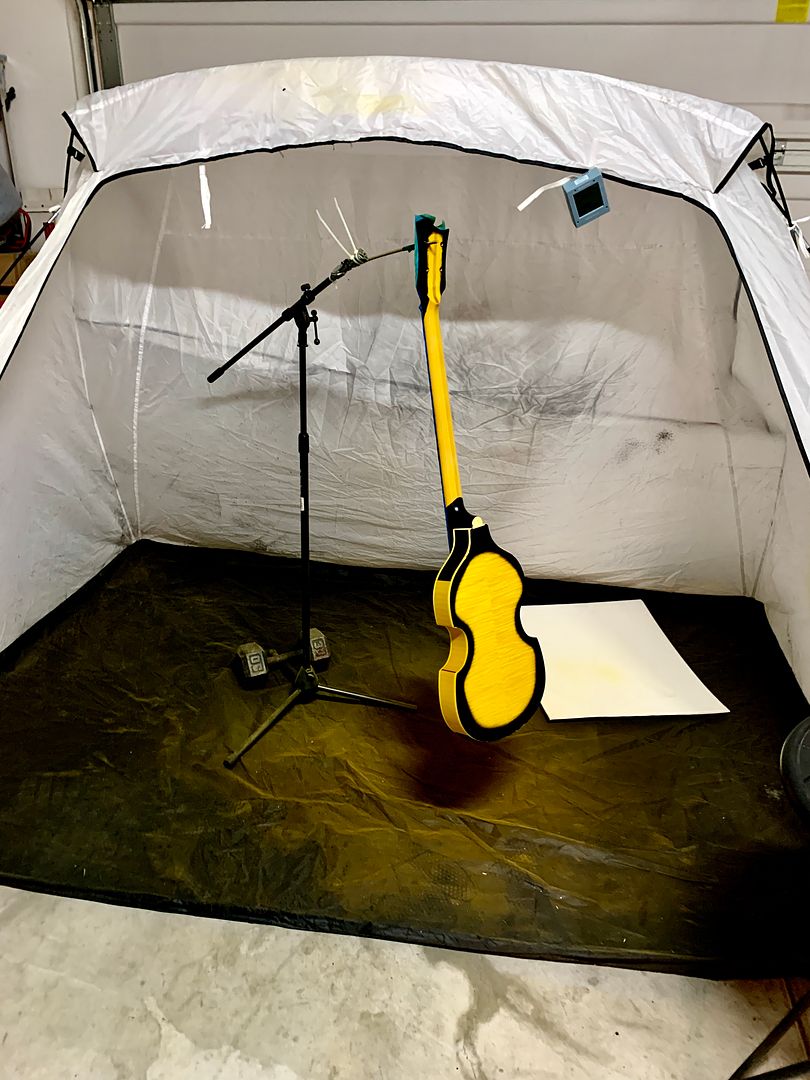
The ll coats of clear is on and all the blue tape removed.... (thank god for naphtha).
now it's time for the 14 day curing process
-
I'm good either way... some are done with taste and others look like a kid got a hold of it to use as a baseball bat
-
 1
1
-
-
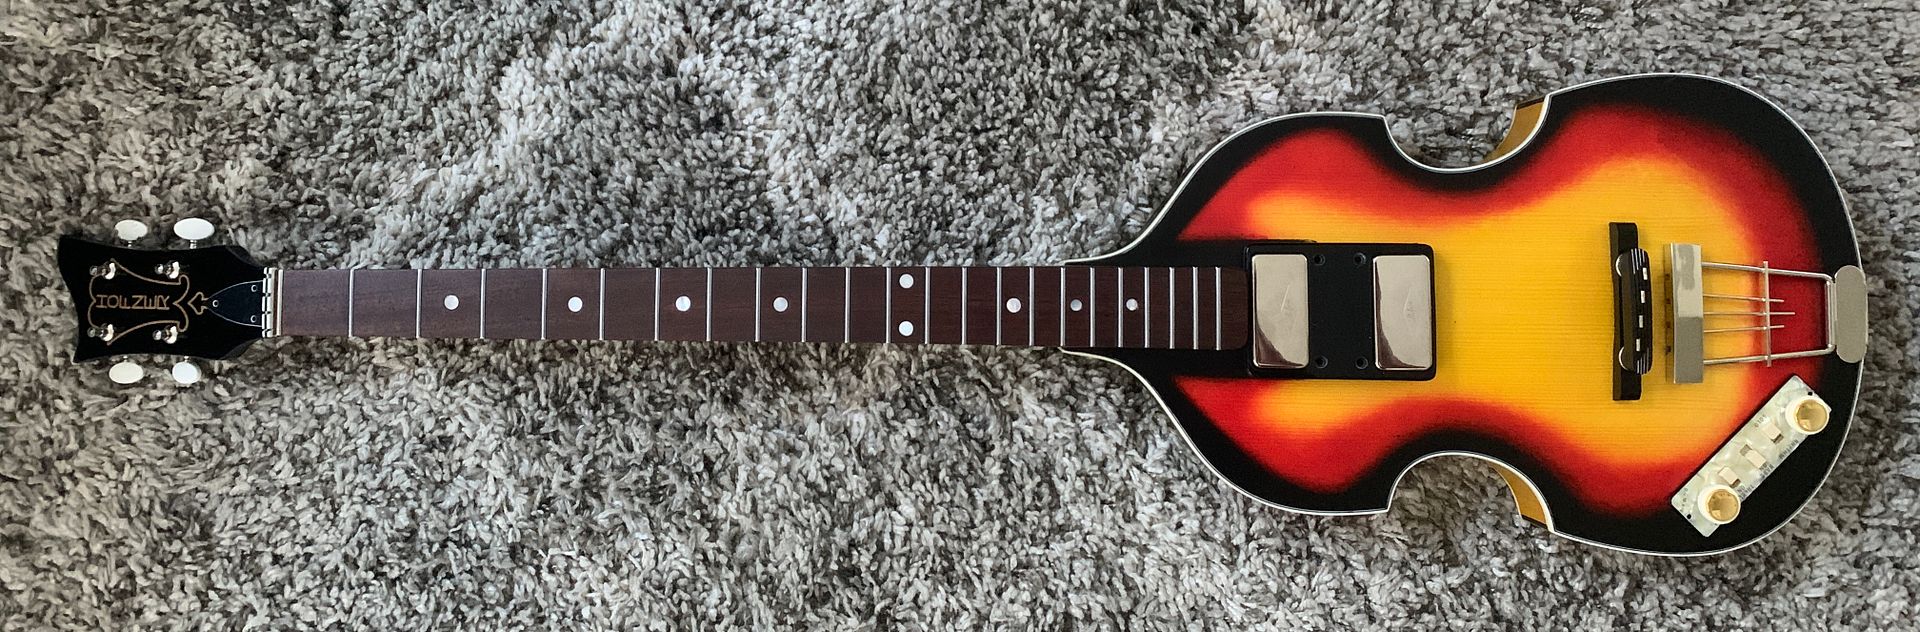
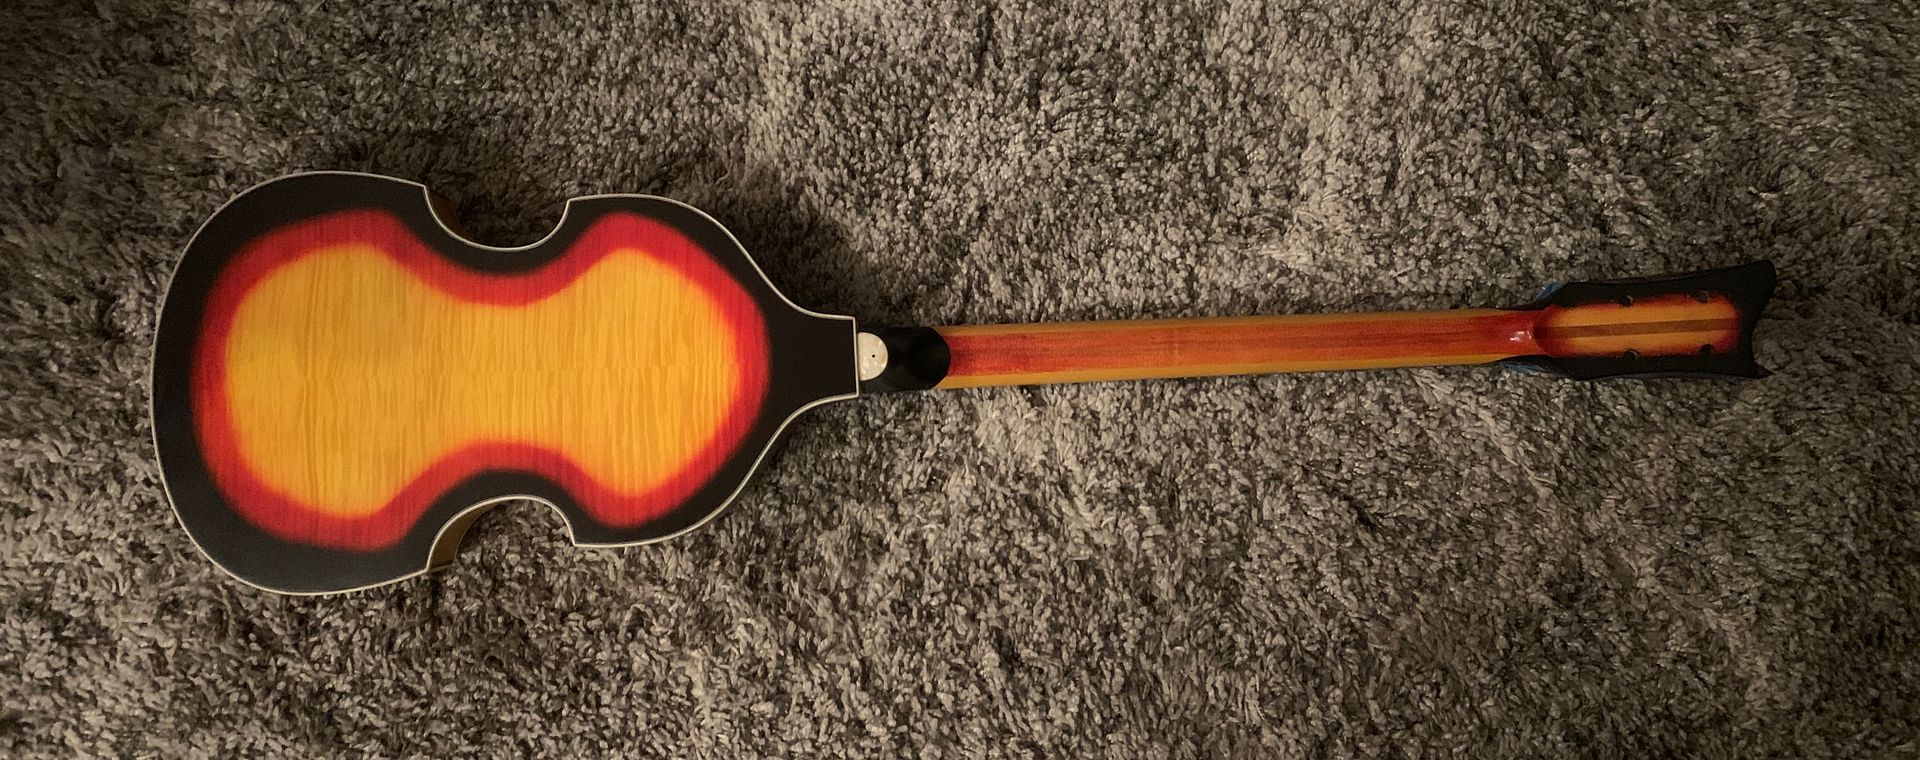
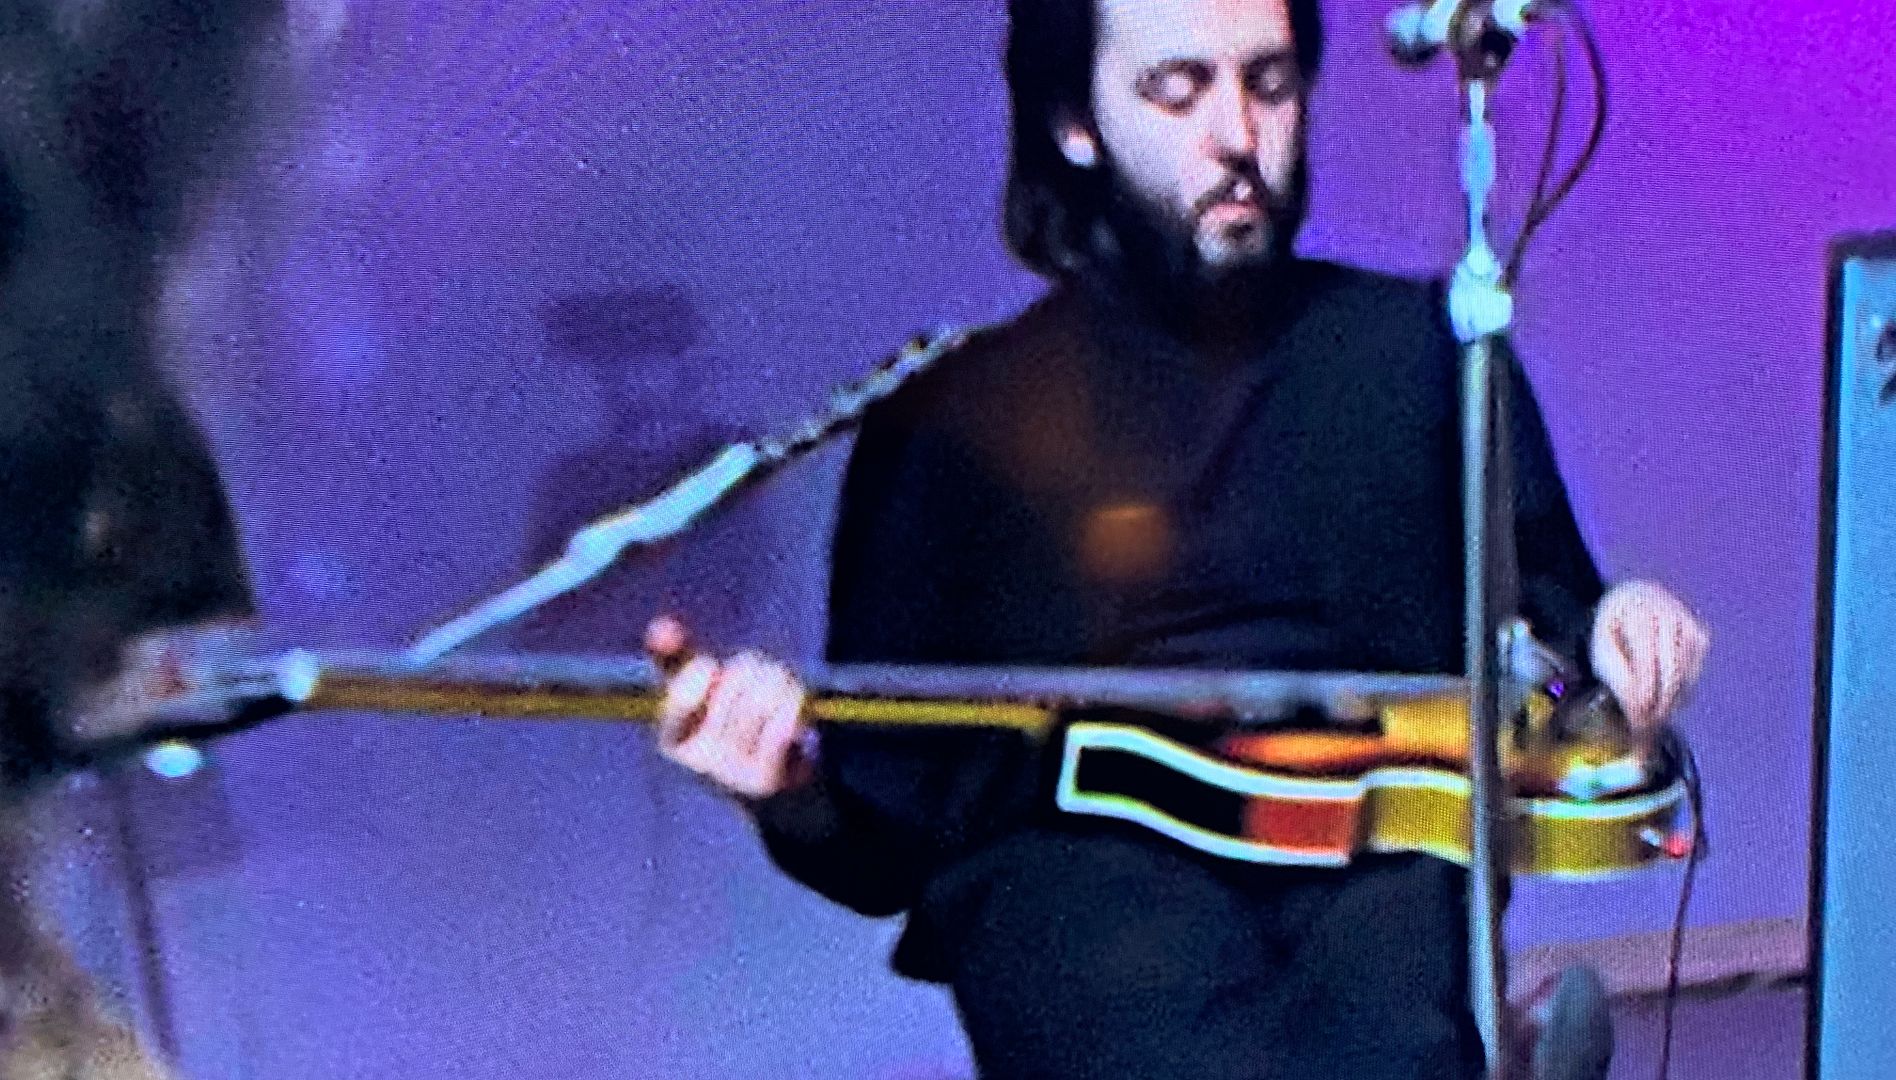
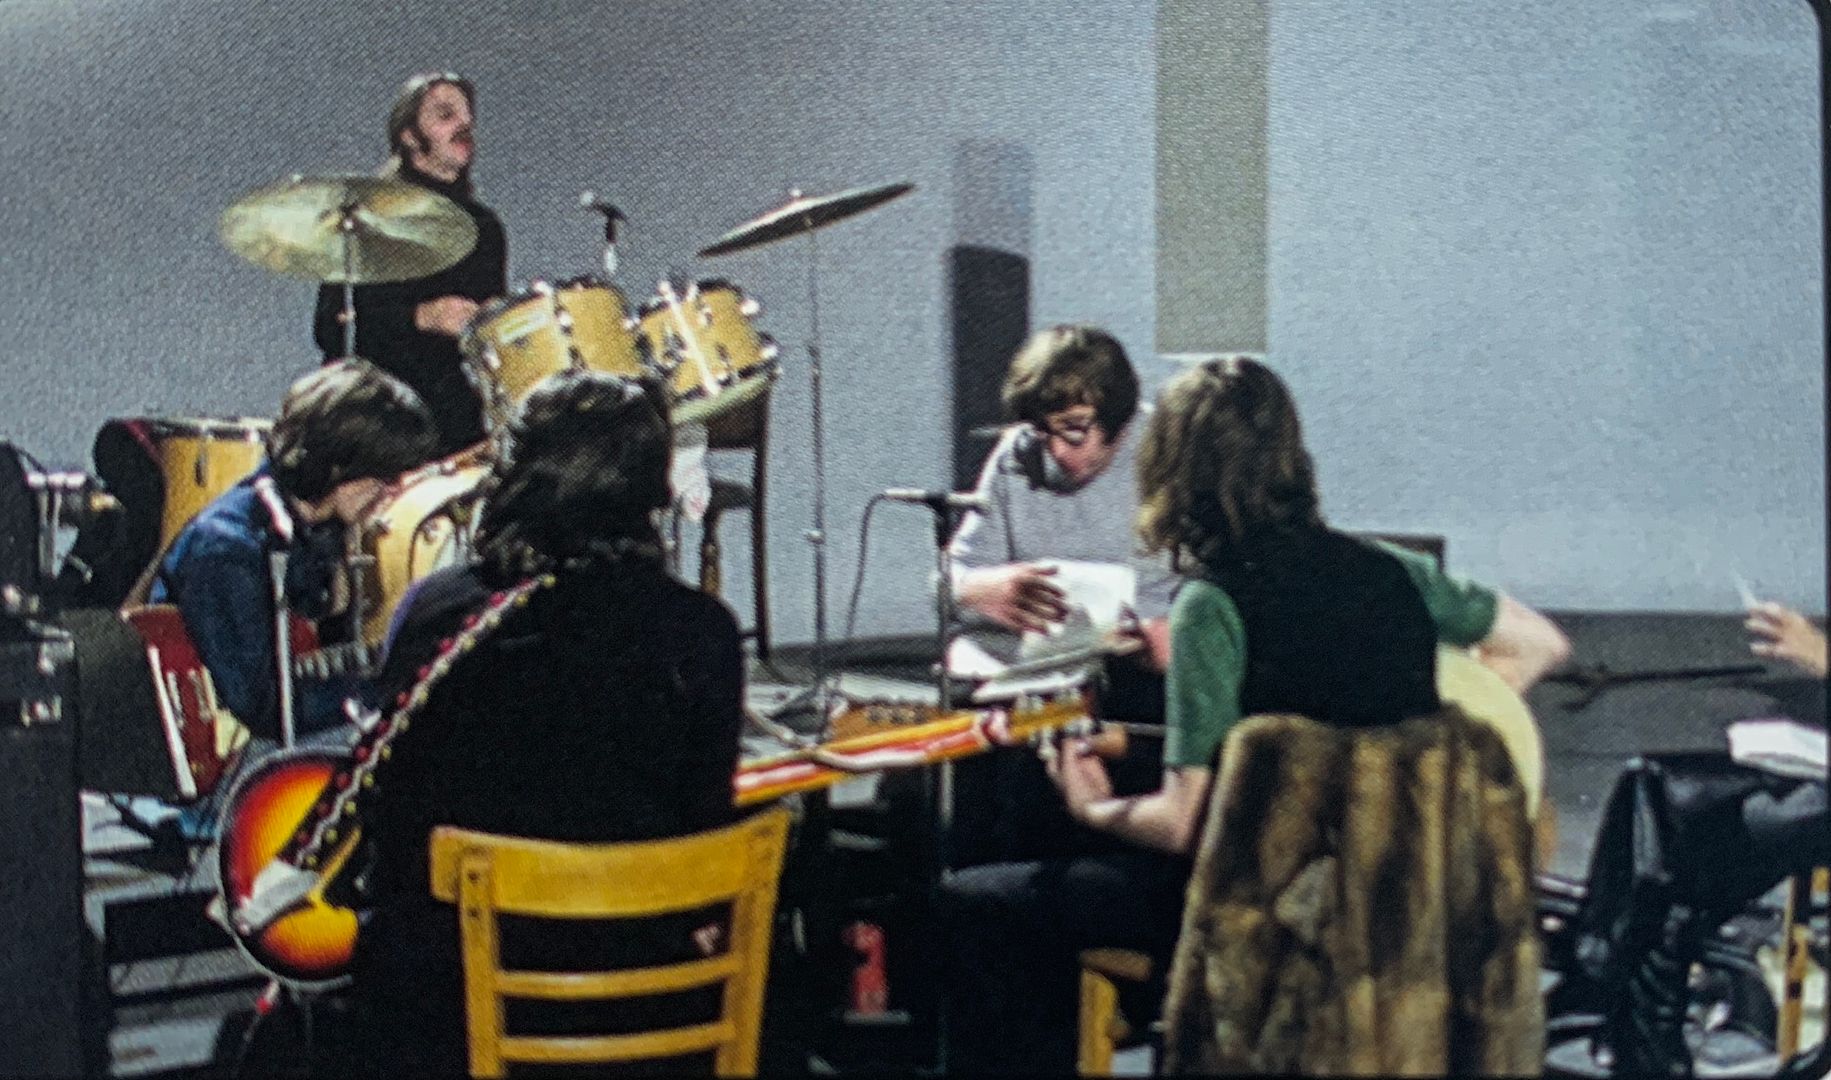
It's definitely a clownburst for sure... lol
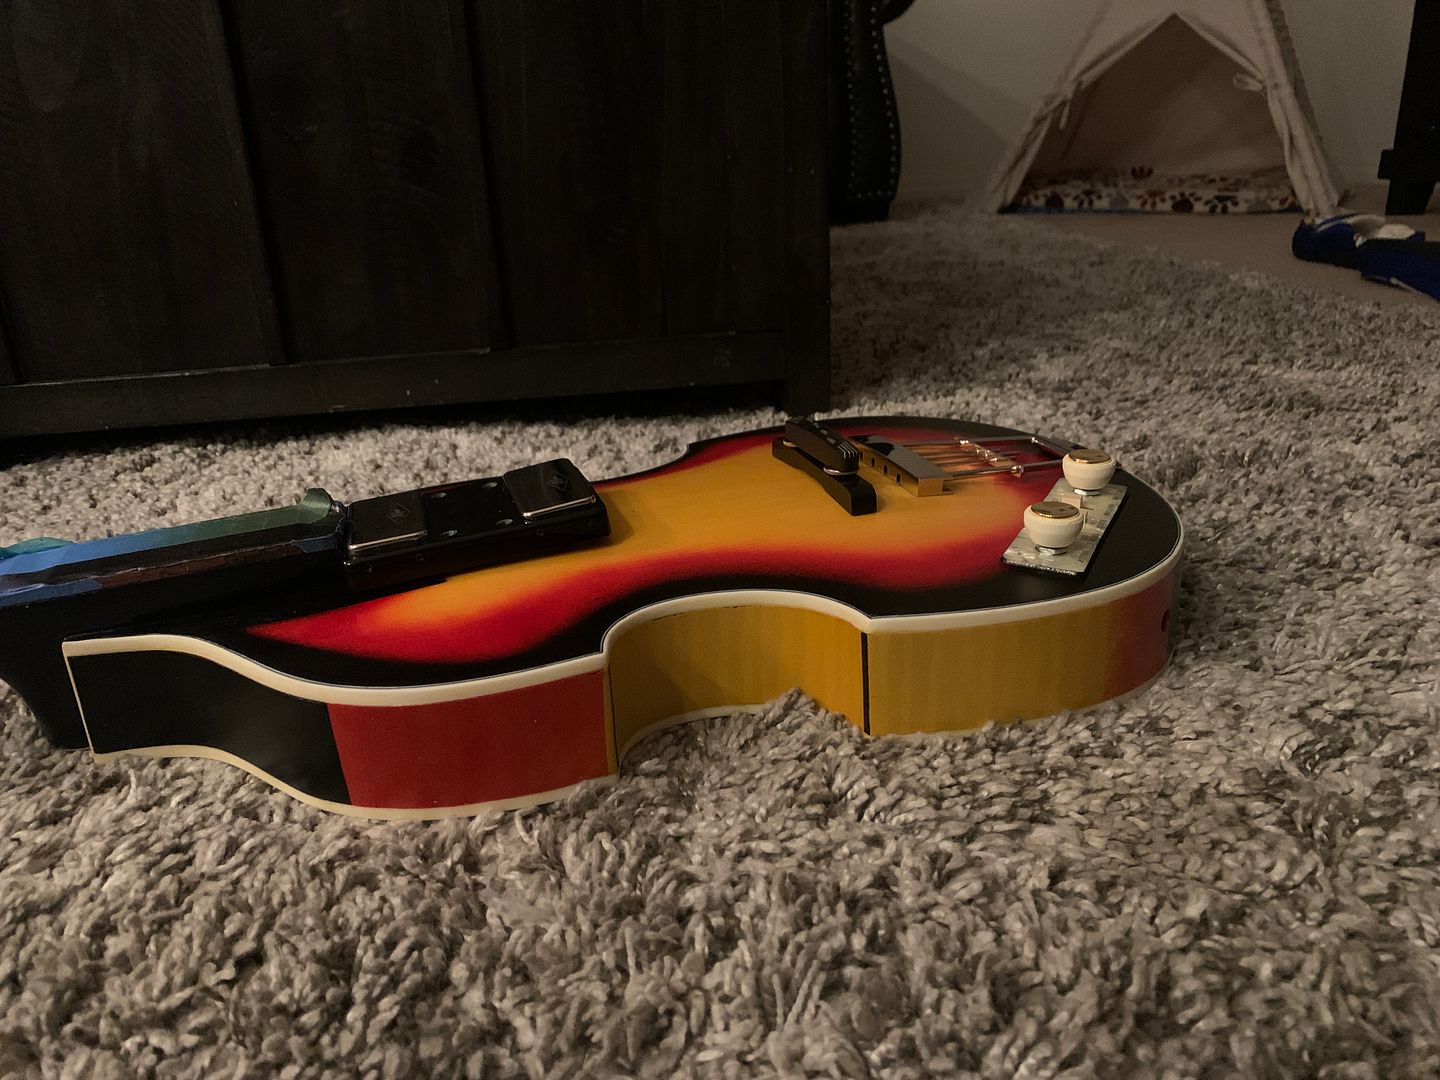
The refinish and repairs to Pauls 61 bass was performed somewhere in London. My guess they were trying to do a Fender burst but kinda missed the mark on that one...
-
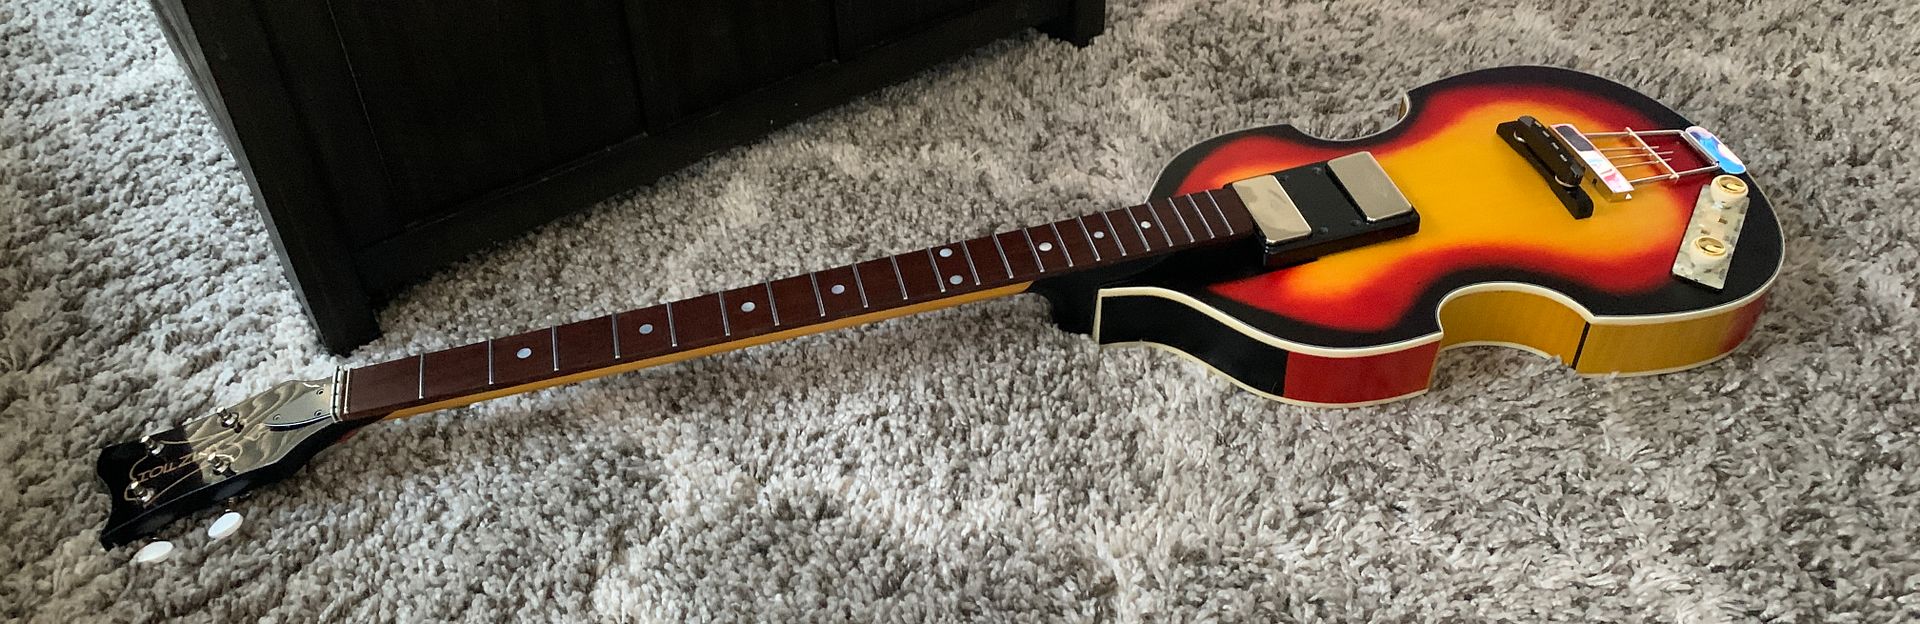
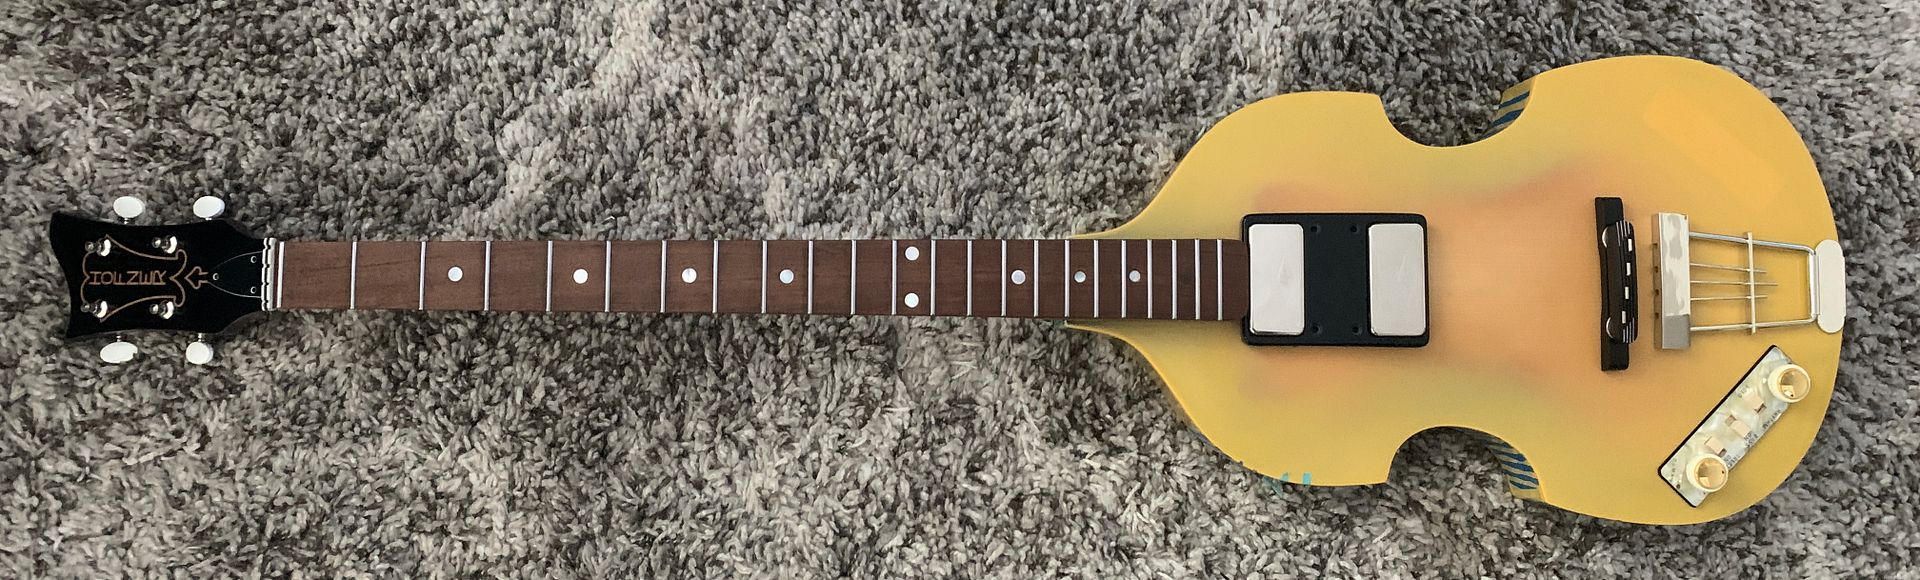
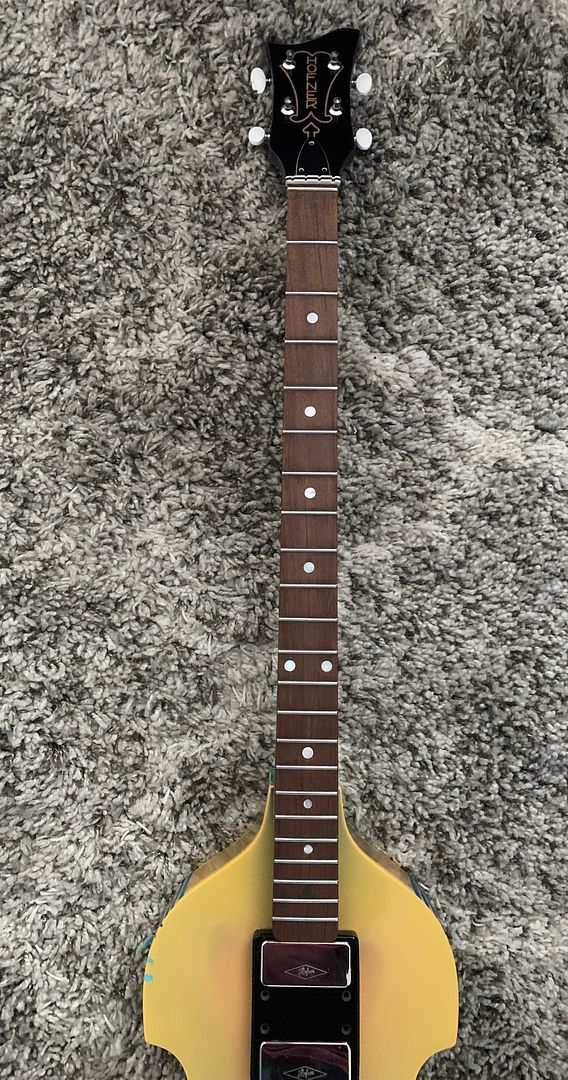
Finished laying the Revolution Burst... Did some blending and cleanup work, then added two coats of clear then hit the whole bass with a thin coat of vintage amber.
Today I will start doing the final clear coats ... A total of 10.
I gotta give props to those that can freehand this type of work.... I had to use multiple templates with rattle can nitro paints... not easy..... And scraping the binding was a complete PIA... Someone needs to design a tool....

-
So over the last week I was able to get quite a bit done. I really wasn't happy with the butterscotch lacquer as it was hiding the grain and the bass started to look like a banana. So I completely sanded the bass to bare wood and go with a vintage amber. To me it looks much better even though the trade off will be is the patch will be more visible but I'm willing to live with that .
I will be laying two coats of clear today then I will shoot the red on Sunday
-
 2
2
-
-
FINALLY A VACATION!!!
I hadn't taken one in 1.25 years..... Two weeks of relaxing and I will still have 340 hours of vacation left on the books.
-
I decided I would do some other finishing work since the weather isn't at all good for spraying lacquer. But next this weekend is looking hopeful.
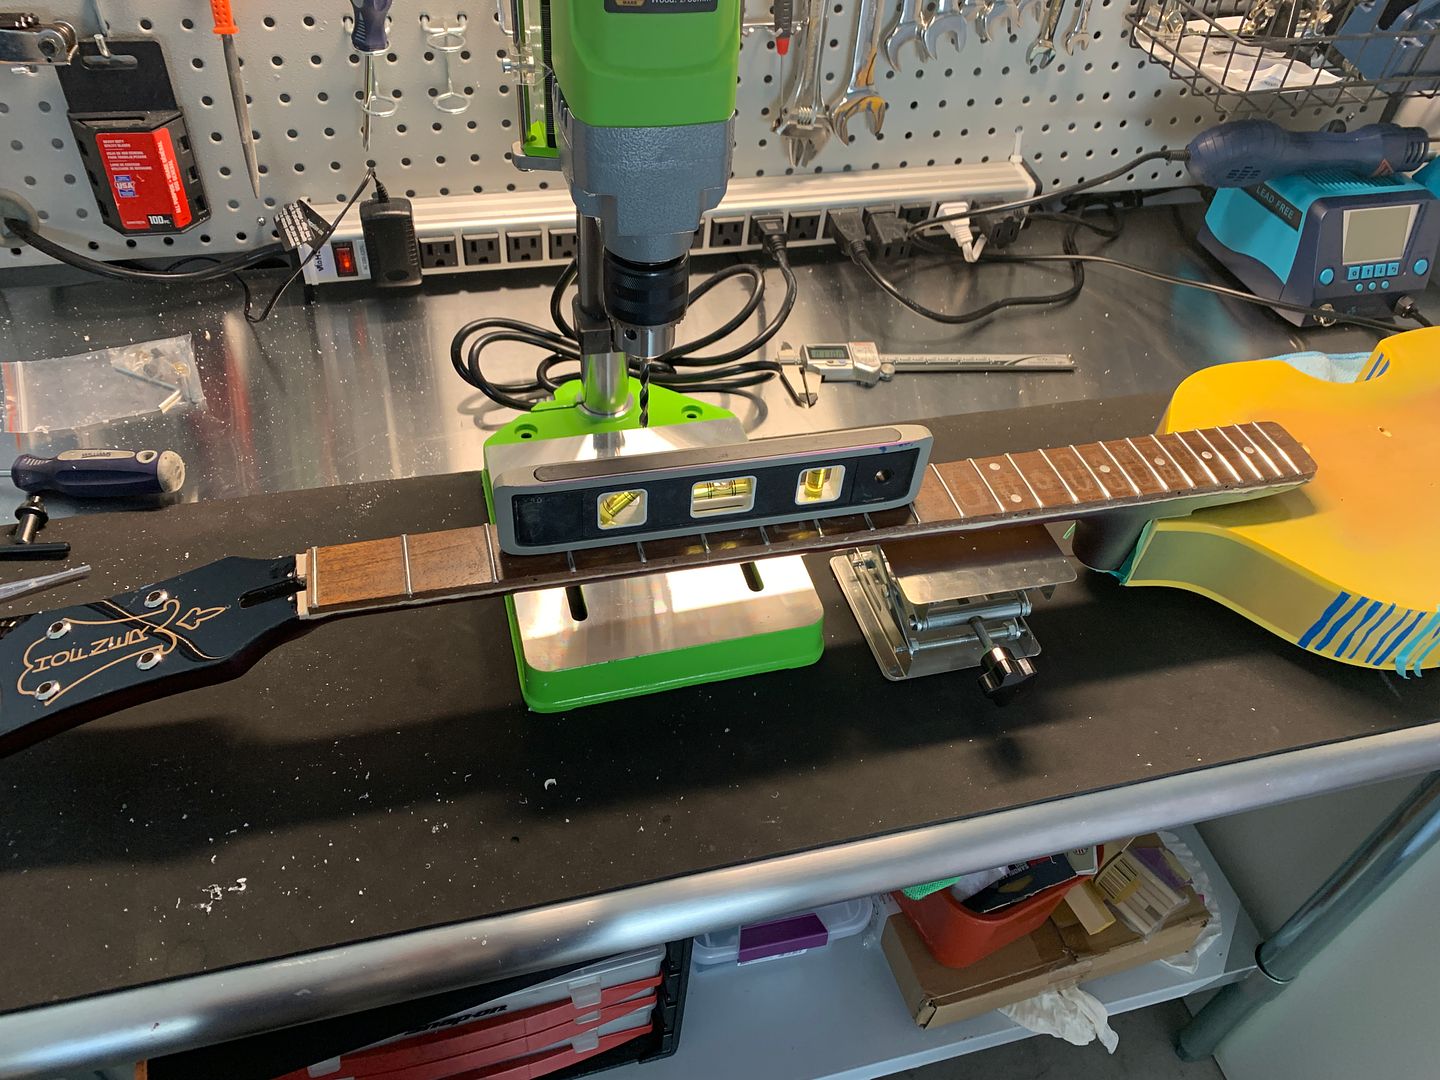
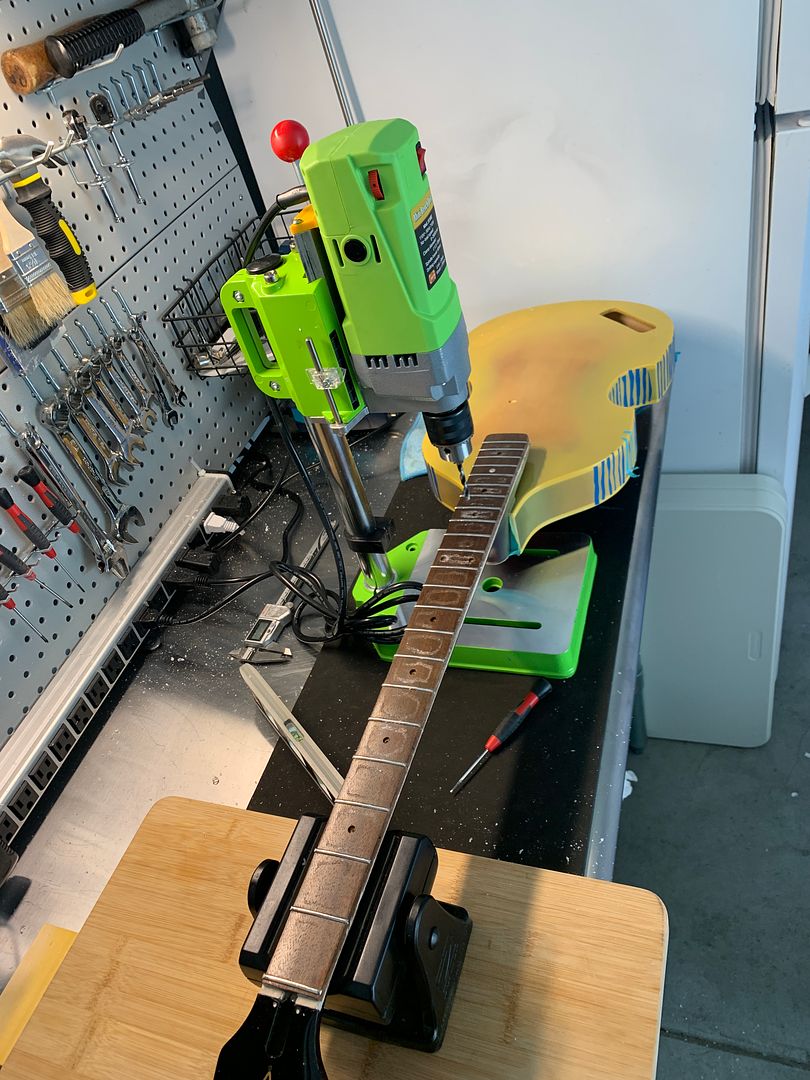
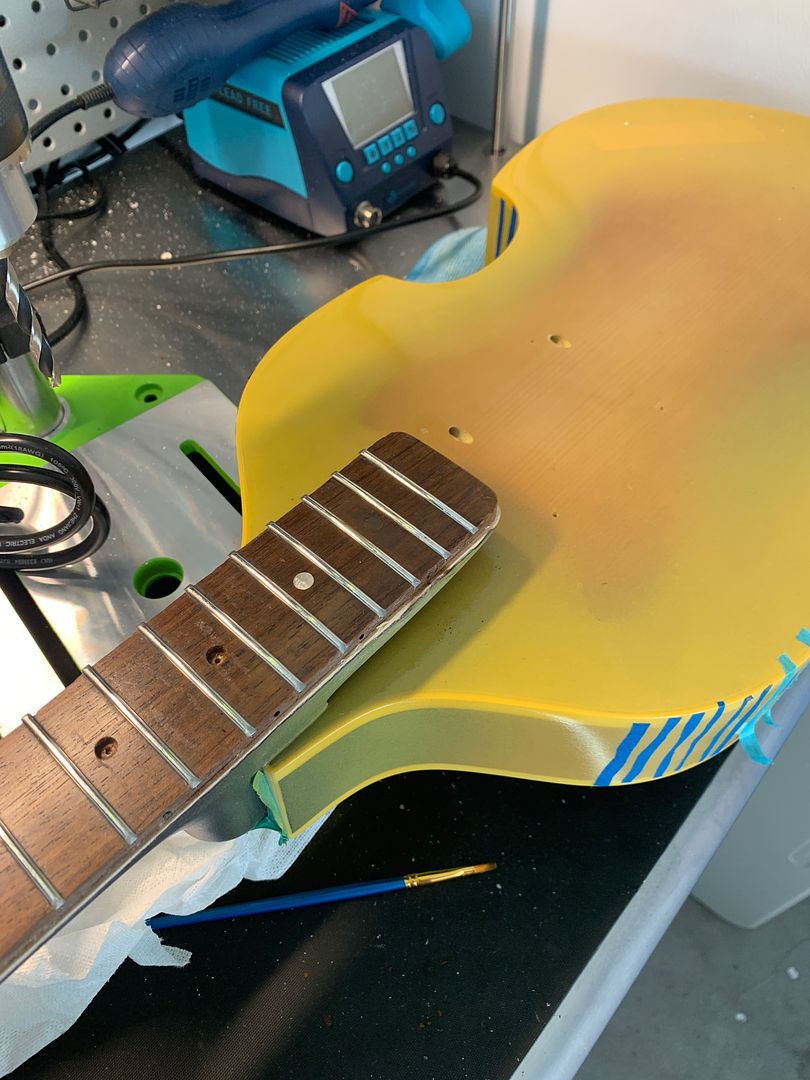
So I spent some time reshaping and cutting the nut and getting it glued on as the nut was originally cut for a right hand bass, I still need to shave some material off the top. Converting a nut that was originally for a right hand bass to work properly left handed was no easy task
I then had to drill two pickup channel holes for the lead wires as the centerblock wouldn't allow to use the original two holes to feed the leads to the left hand volume plate location. I also drilled the four holes for the surround mounting. I had to drill a hole in the center block so the tailpiece ground wire could be fed. Also cut the grooves on the bridge saddle.
Plays good but I'm going to file down the frets as the are super tall. They would be great for a guitar but it feels weird on a bass.
Kinda glad I did this now then after the bass was completely sprayed.
_FullSizeRender.png)
-
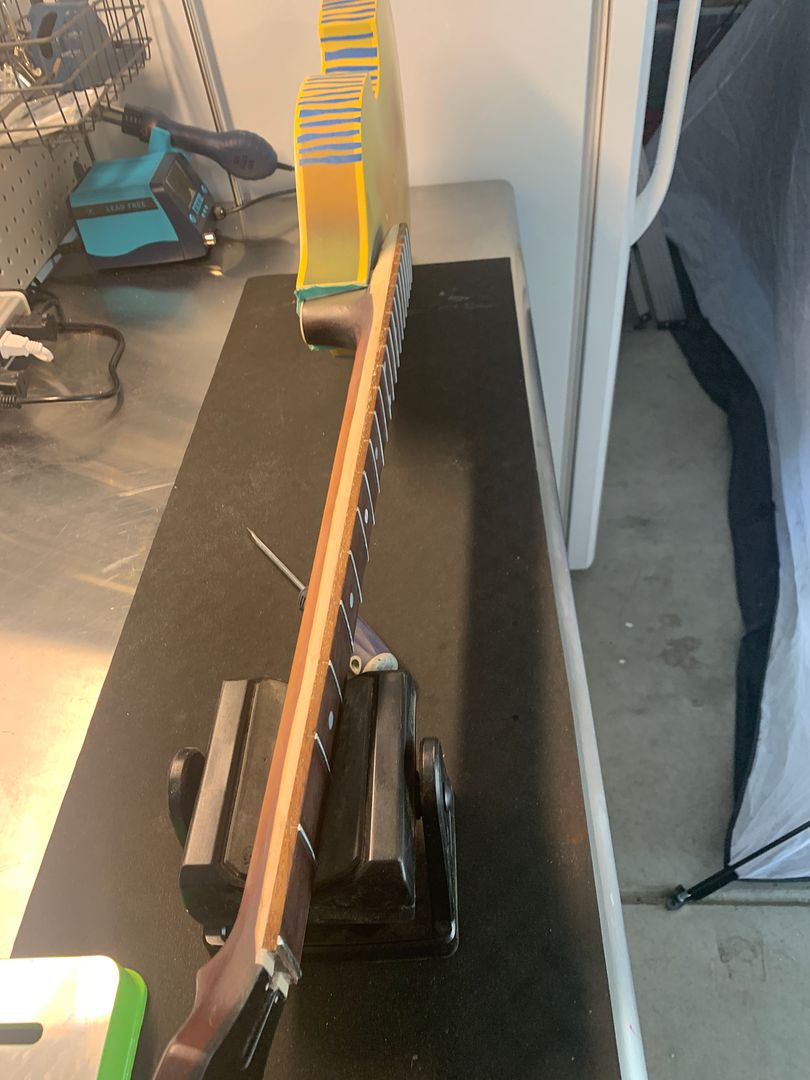
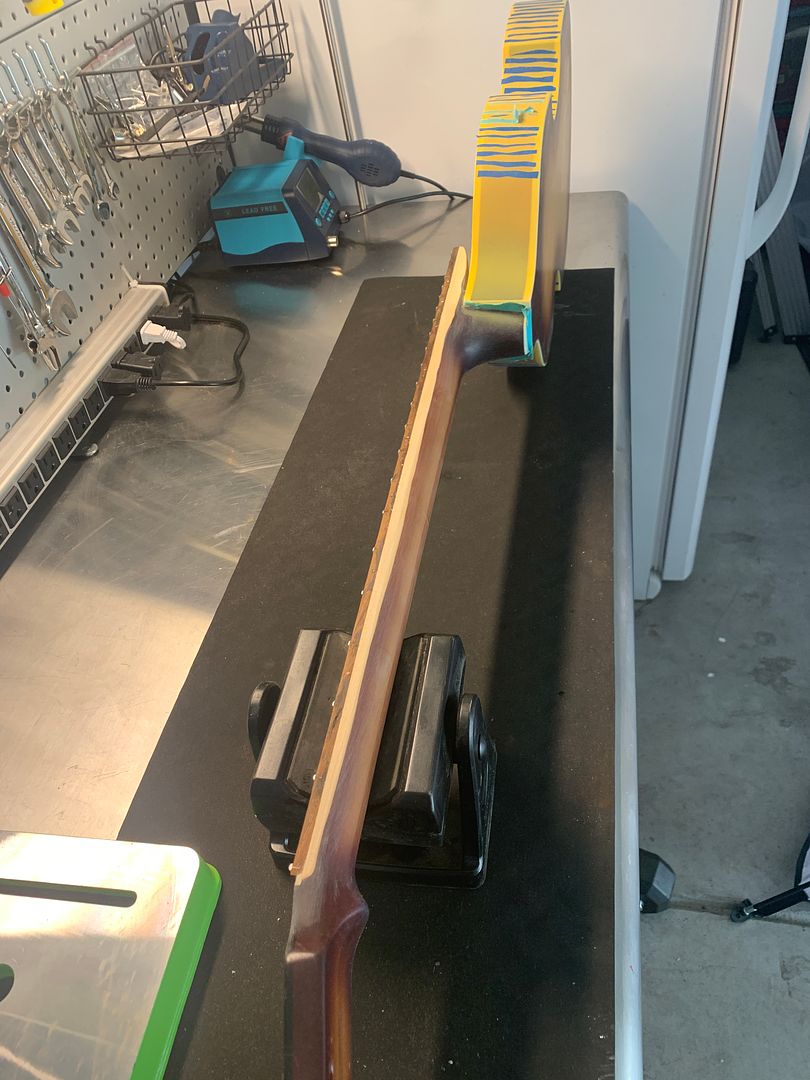
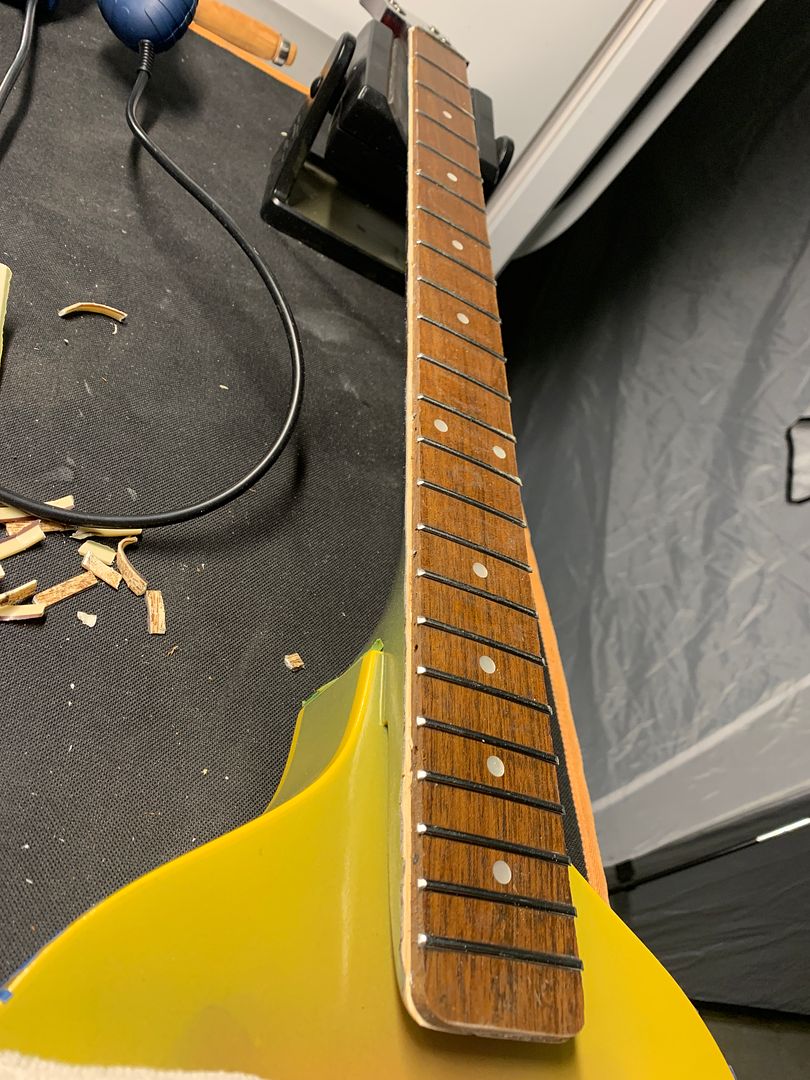
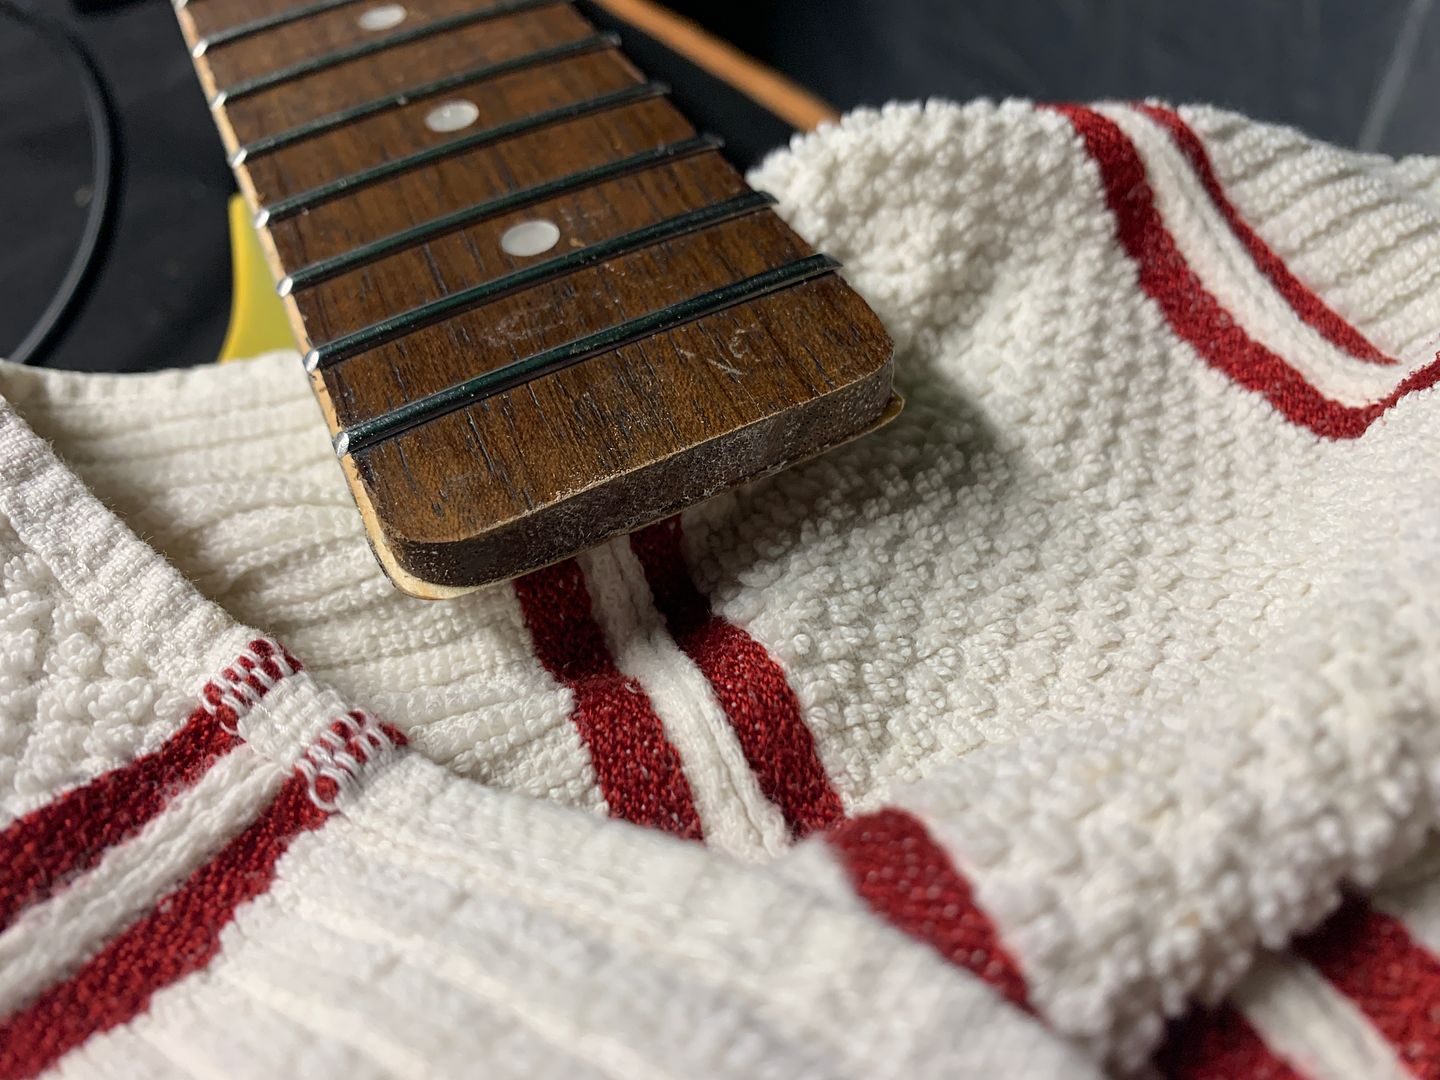
With the binding removed, the neck has been scraped, contoured and sanded. I also clean up the fretboard, filed the sharper than &:%# fret-ends and polished the frets. Cabinet maker forums have me some killer advice in using cabinet scrapers.
-
1
-
-
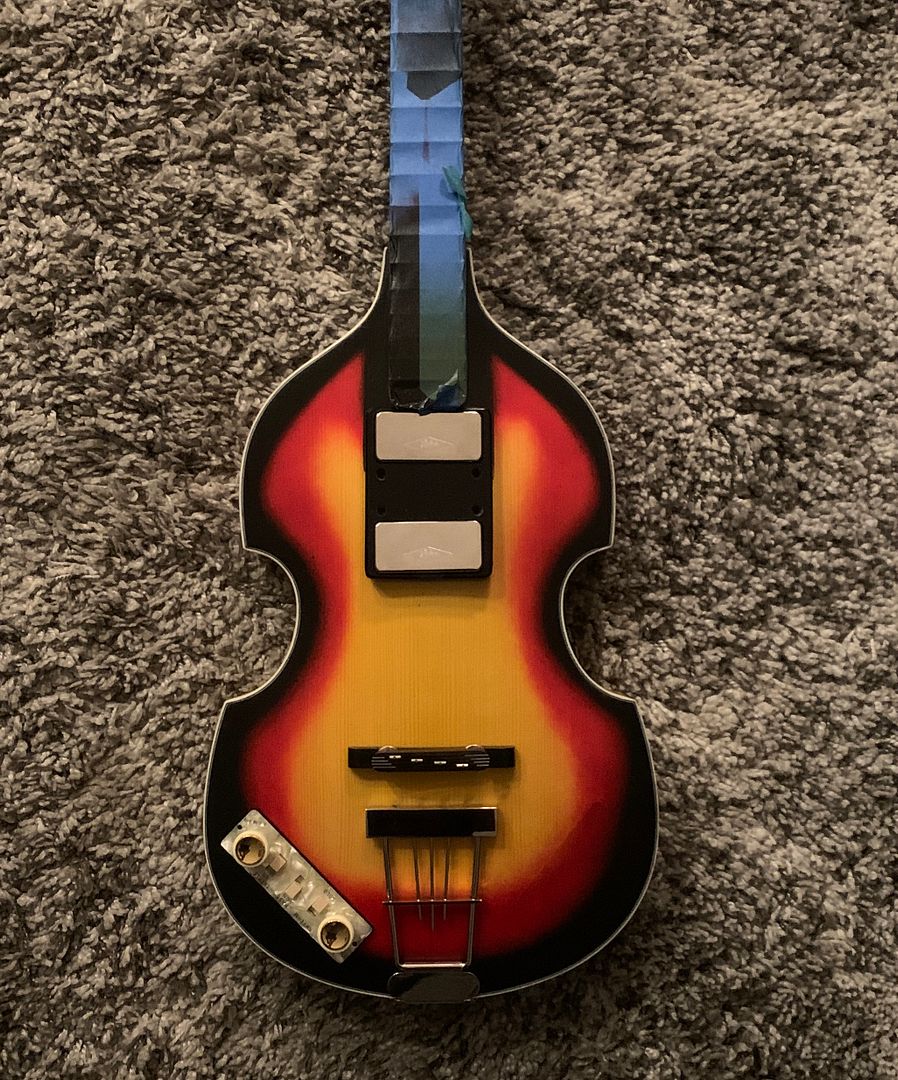
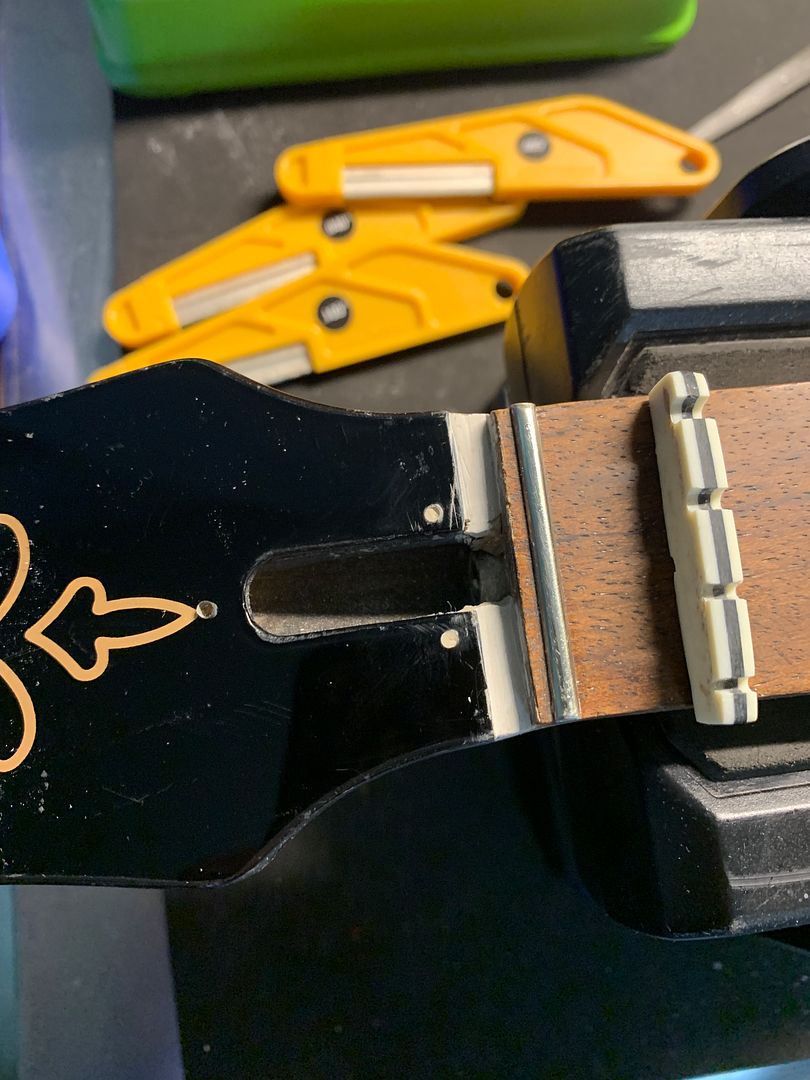
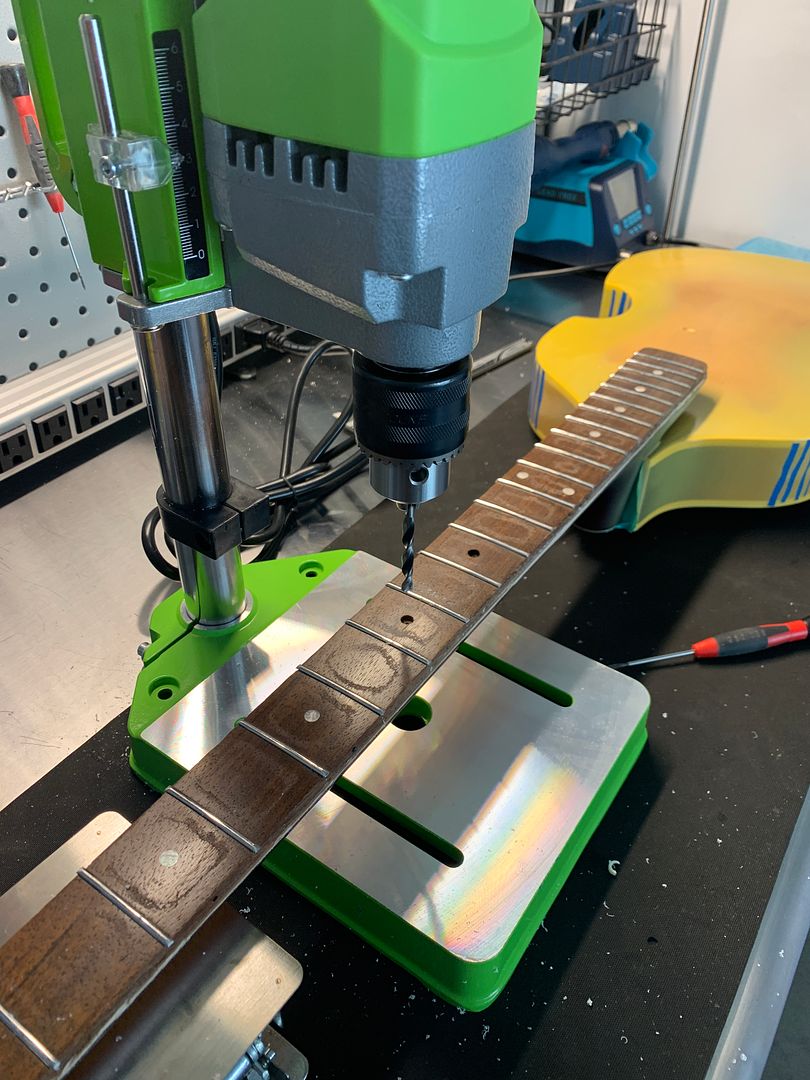
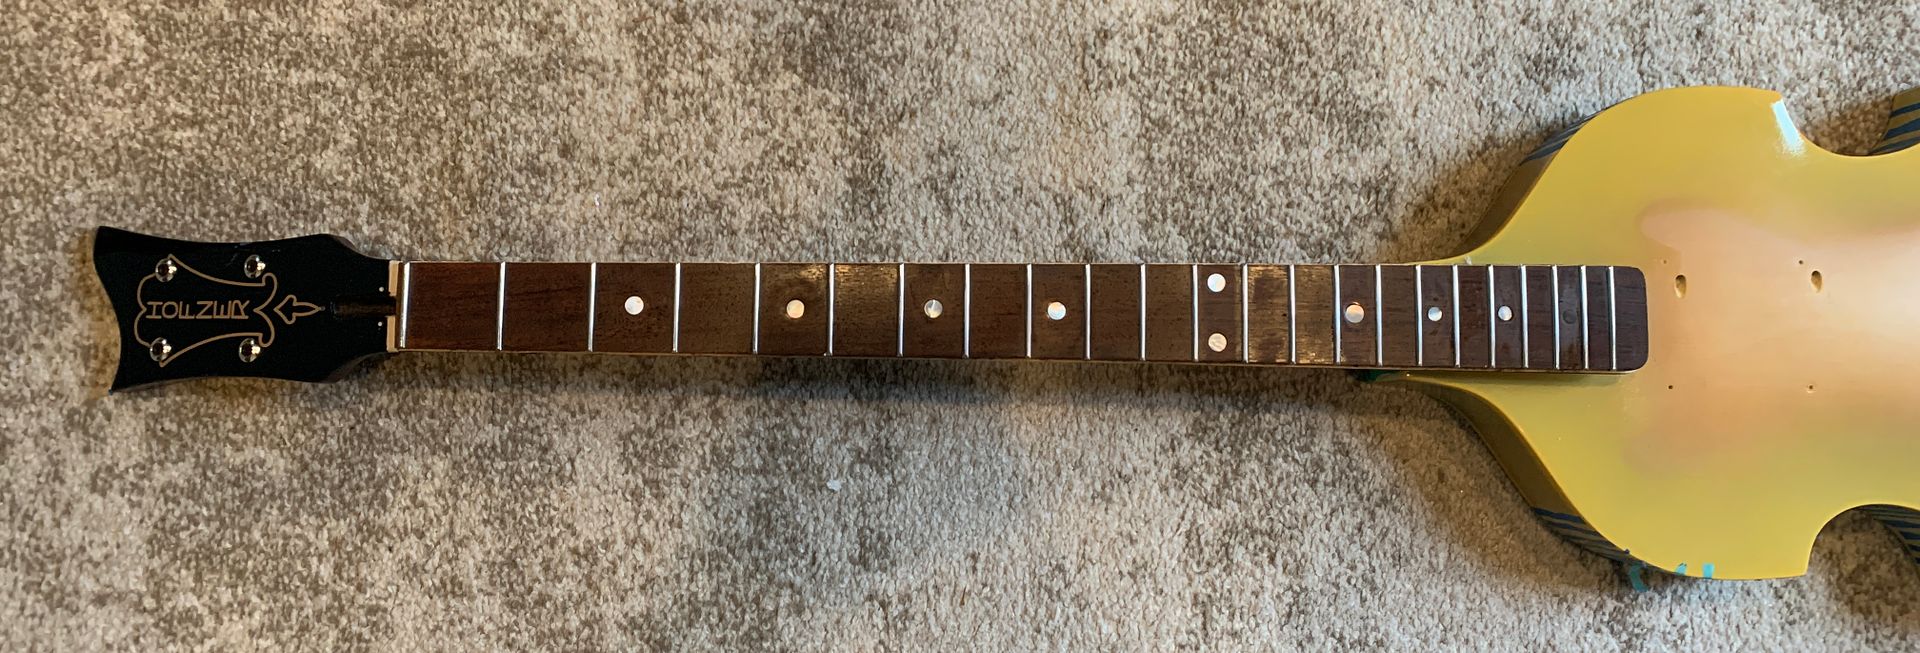
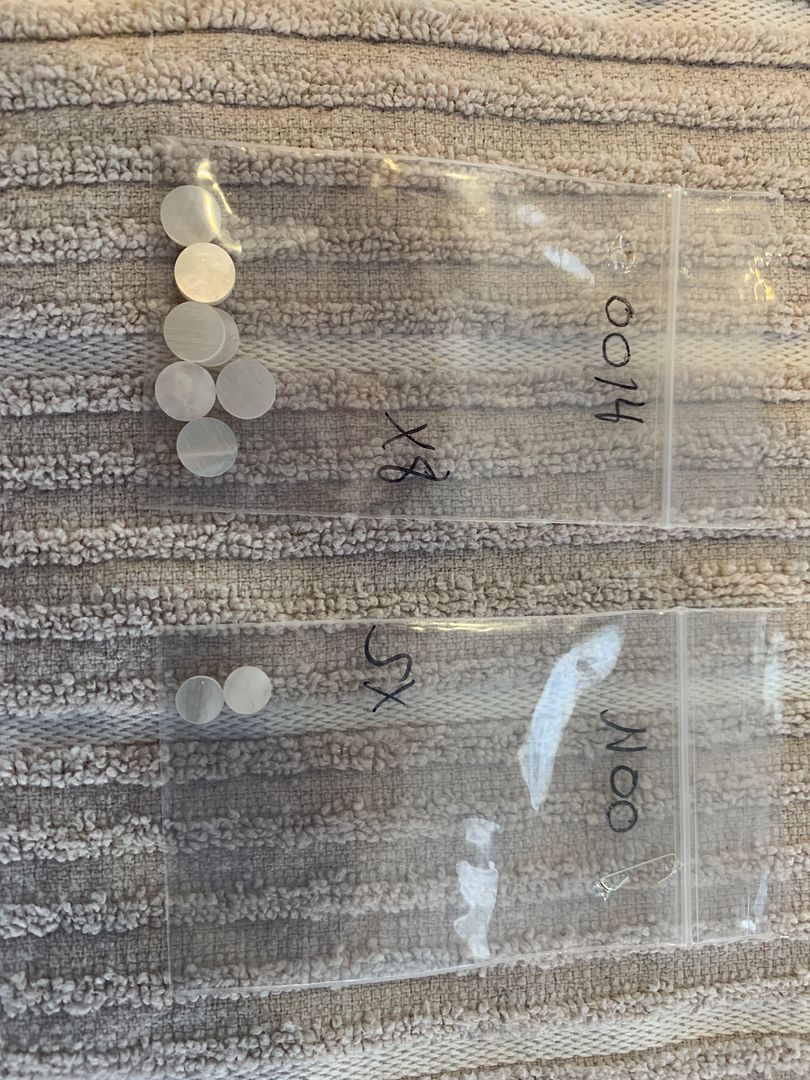
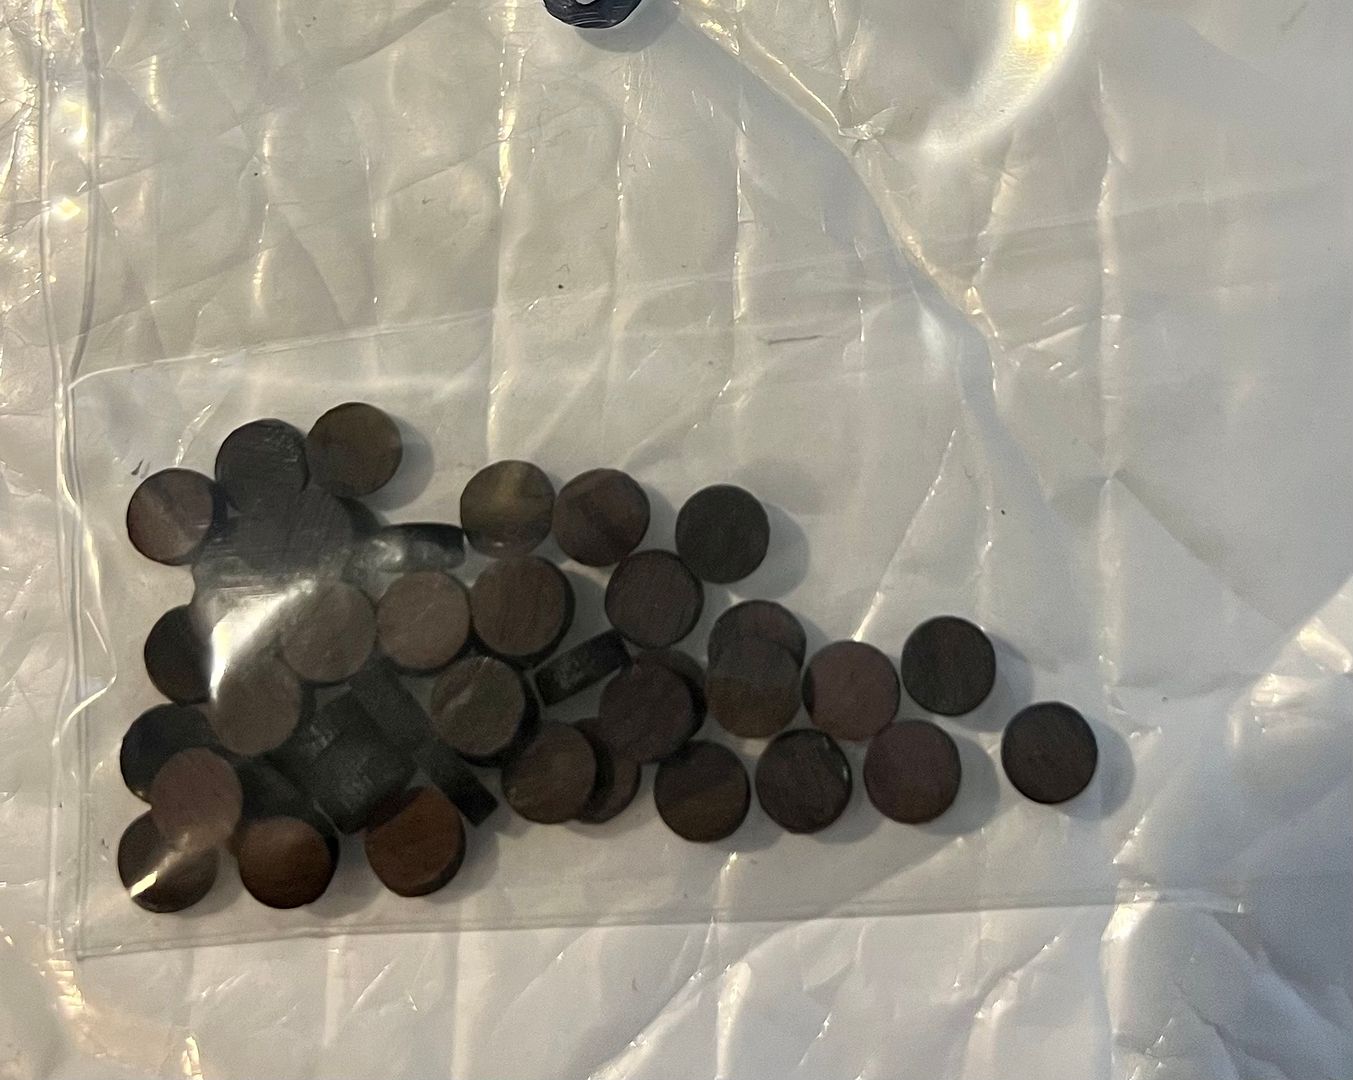
Removed the stock fretboard dots and replaced them with the 8mm and 6mm dots, then replaced the last fretboard dot with a rosewood dot because the 61 Hofner didn't have that dot.
Next I'm going to sand the fretboard with 1600 grit to clean up the gloss stuff that Hofner put on the fretboard. Then I'm going to drop fill the the side marker holes and fret slots with rosewood powder and super glue . Then I'm going to completely remove the finish from the back of the neck.
-
1
-
-
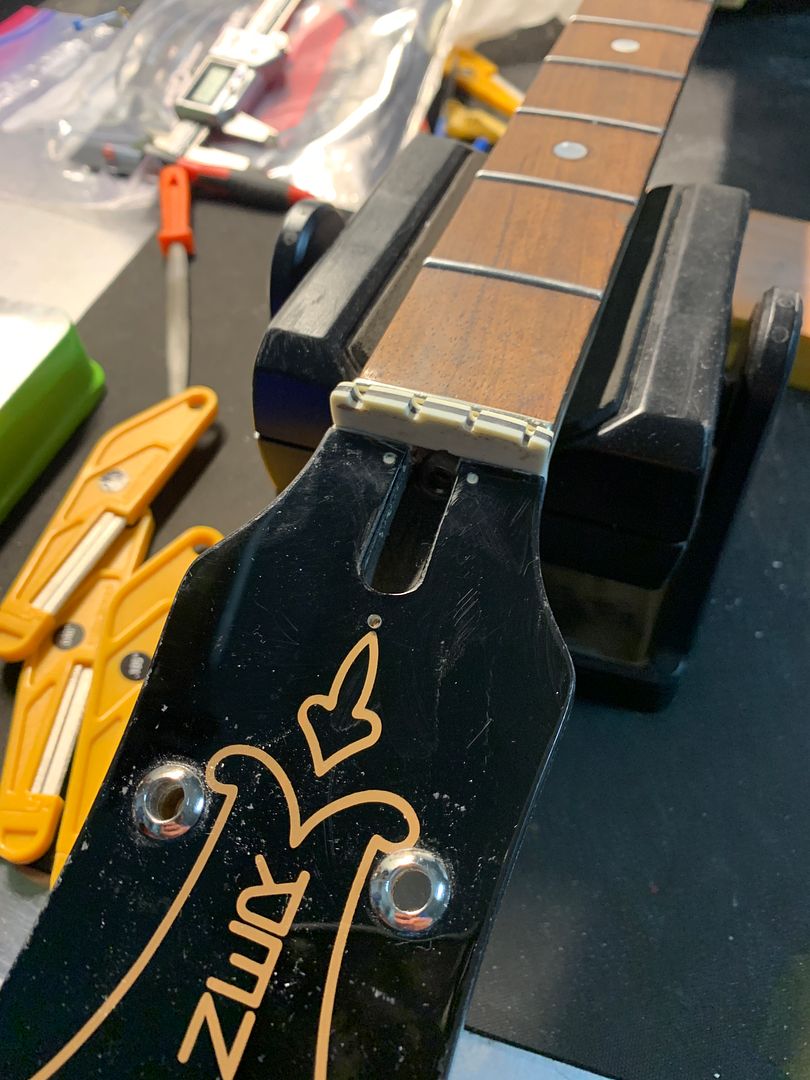
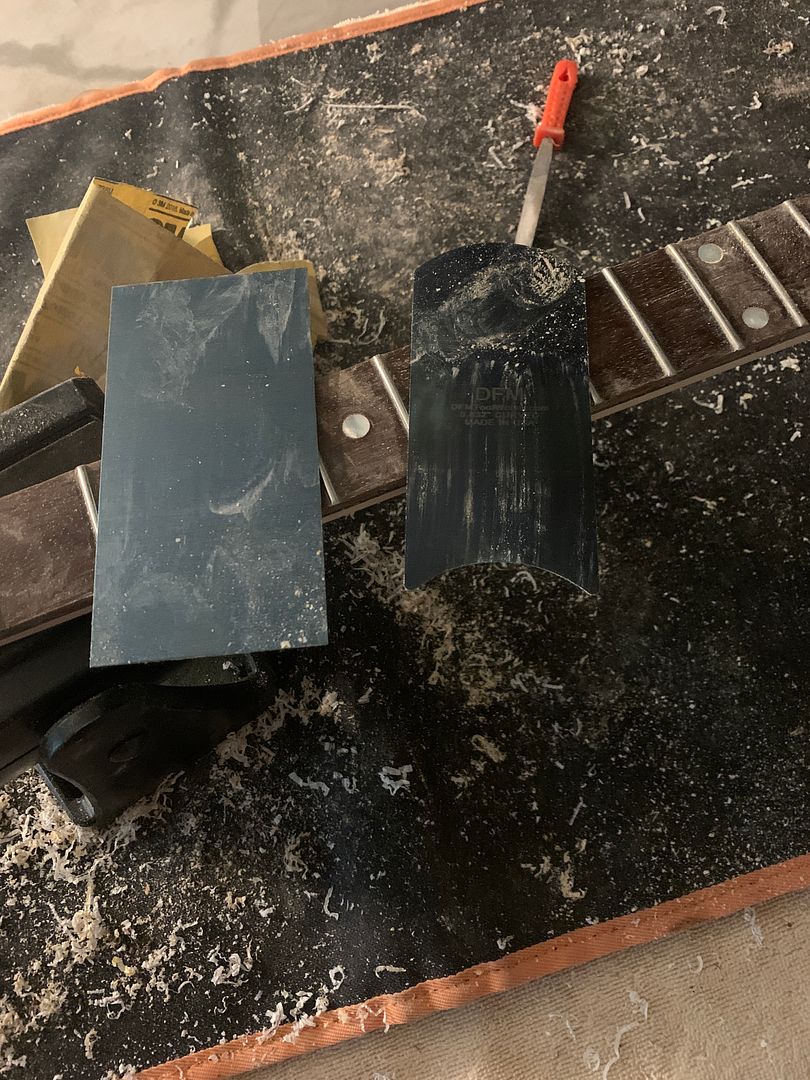
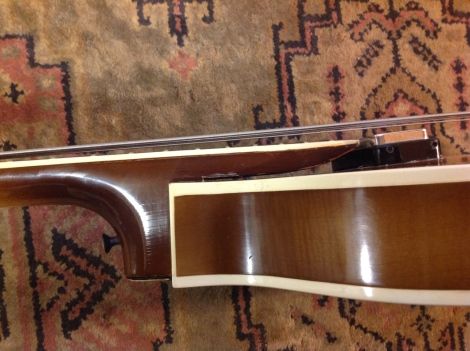
The binding is gone.
A heat gun and a very sharp chisel is a must. The average binding channel depth was about .040" which means sanding won't be a huge undertaking. No damage and trimming the fret ends is next.
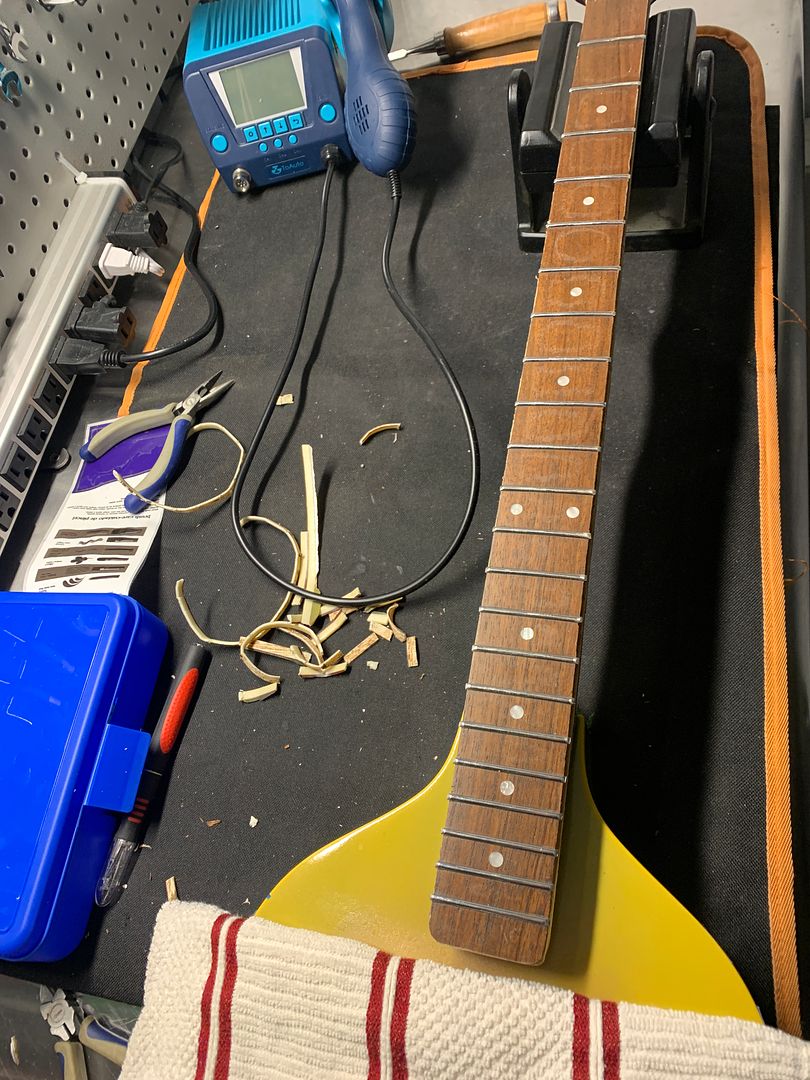
-
The neck is a maple slab.... I don't think there will be any issue in regards to rigidity with the loss of material
It's a one day job
-
See the below image of a Hofner bass with binding. There is plenty of room to remove material so that the neck will be flush with the fretboard. The binding channel is about 1/8"
-
My sweeter half sent me images of the 8mm and 6.3mm MOP fret dots that came in the mail, and the rosewood fret dots to remove the extra fret dot. I'm sure out of that bag I'll find one that will somewhat match the fret board.
-
2 minutes ago, Dub-T-123 said:
Have you run your idea by anyone who you think understands the neck joint?
I own six Hofner basses and have performed neck resets on two of them.
I thought about painting the binding to match the fretboard but I thought that would look pretty cheesy.
since the bottom neck is about 3/8" away from the body and the neck pocket is even further away from the fret board there would be no issue at all. I'll take images for you when I remove the binding so you can have a better understanding
-
It's a beauty but $5k is a bit steep.... but it is pristine
-
Been at the Boeing plants in St. Louis and just finished up at the Boeing plant in St Charleston SC.
heading home in about an hour.
-
1
-
-
6 hours ago, Dub-T-123 said:
Gonna be a nasty transition at the neck/body joint at best
I don't think you have an understanding of how the neck, fretboard and neck joint interface with each other on a Hofner bass.
-
An update on on the neck binding.
I have decided to remove the neck binding, trim the frets and sand the neck flush to the fret board. At that point I may need to do a little back filling at the fret ends but that's a quick and easy cosmetic fix. This would be a quicker fix rather than adding rosewood binding.


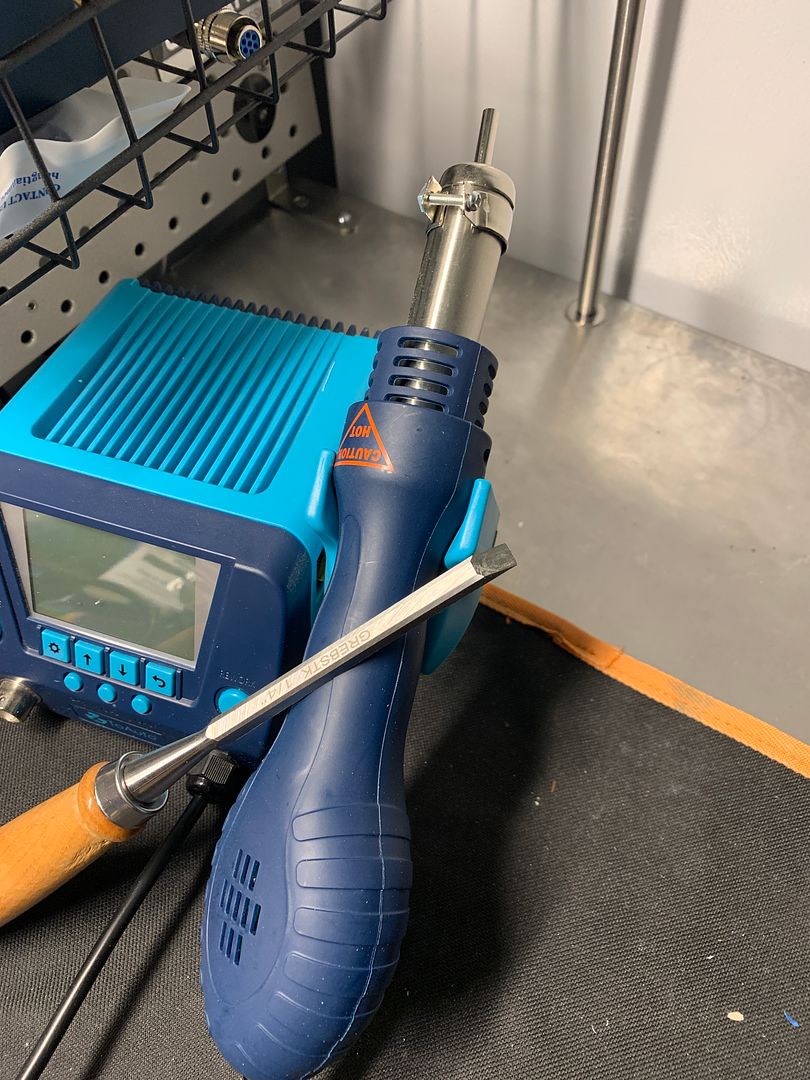
A Binding Scraping Tool
in The Gibson Lounge
Posted
This little dude that I made works absolutely like a charm and is easy make.